Table of Contents
Projects created in Contents can be reorganized into folders. All folders are displayed on the “Library” page, which can be accessed via the sidebar navigation.
Viewing Folders
Within the library page, folders are shown under the “Projects” tab, right at the top of the page.
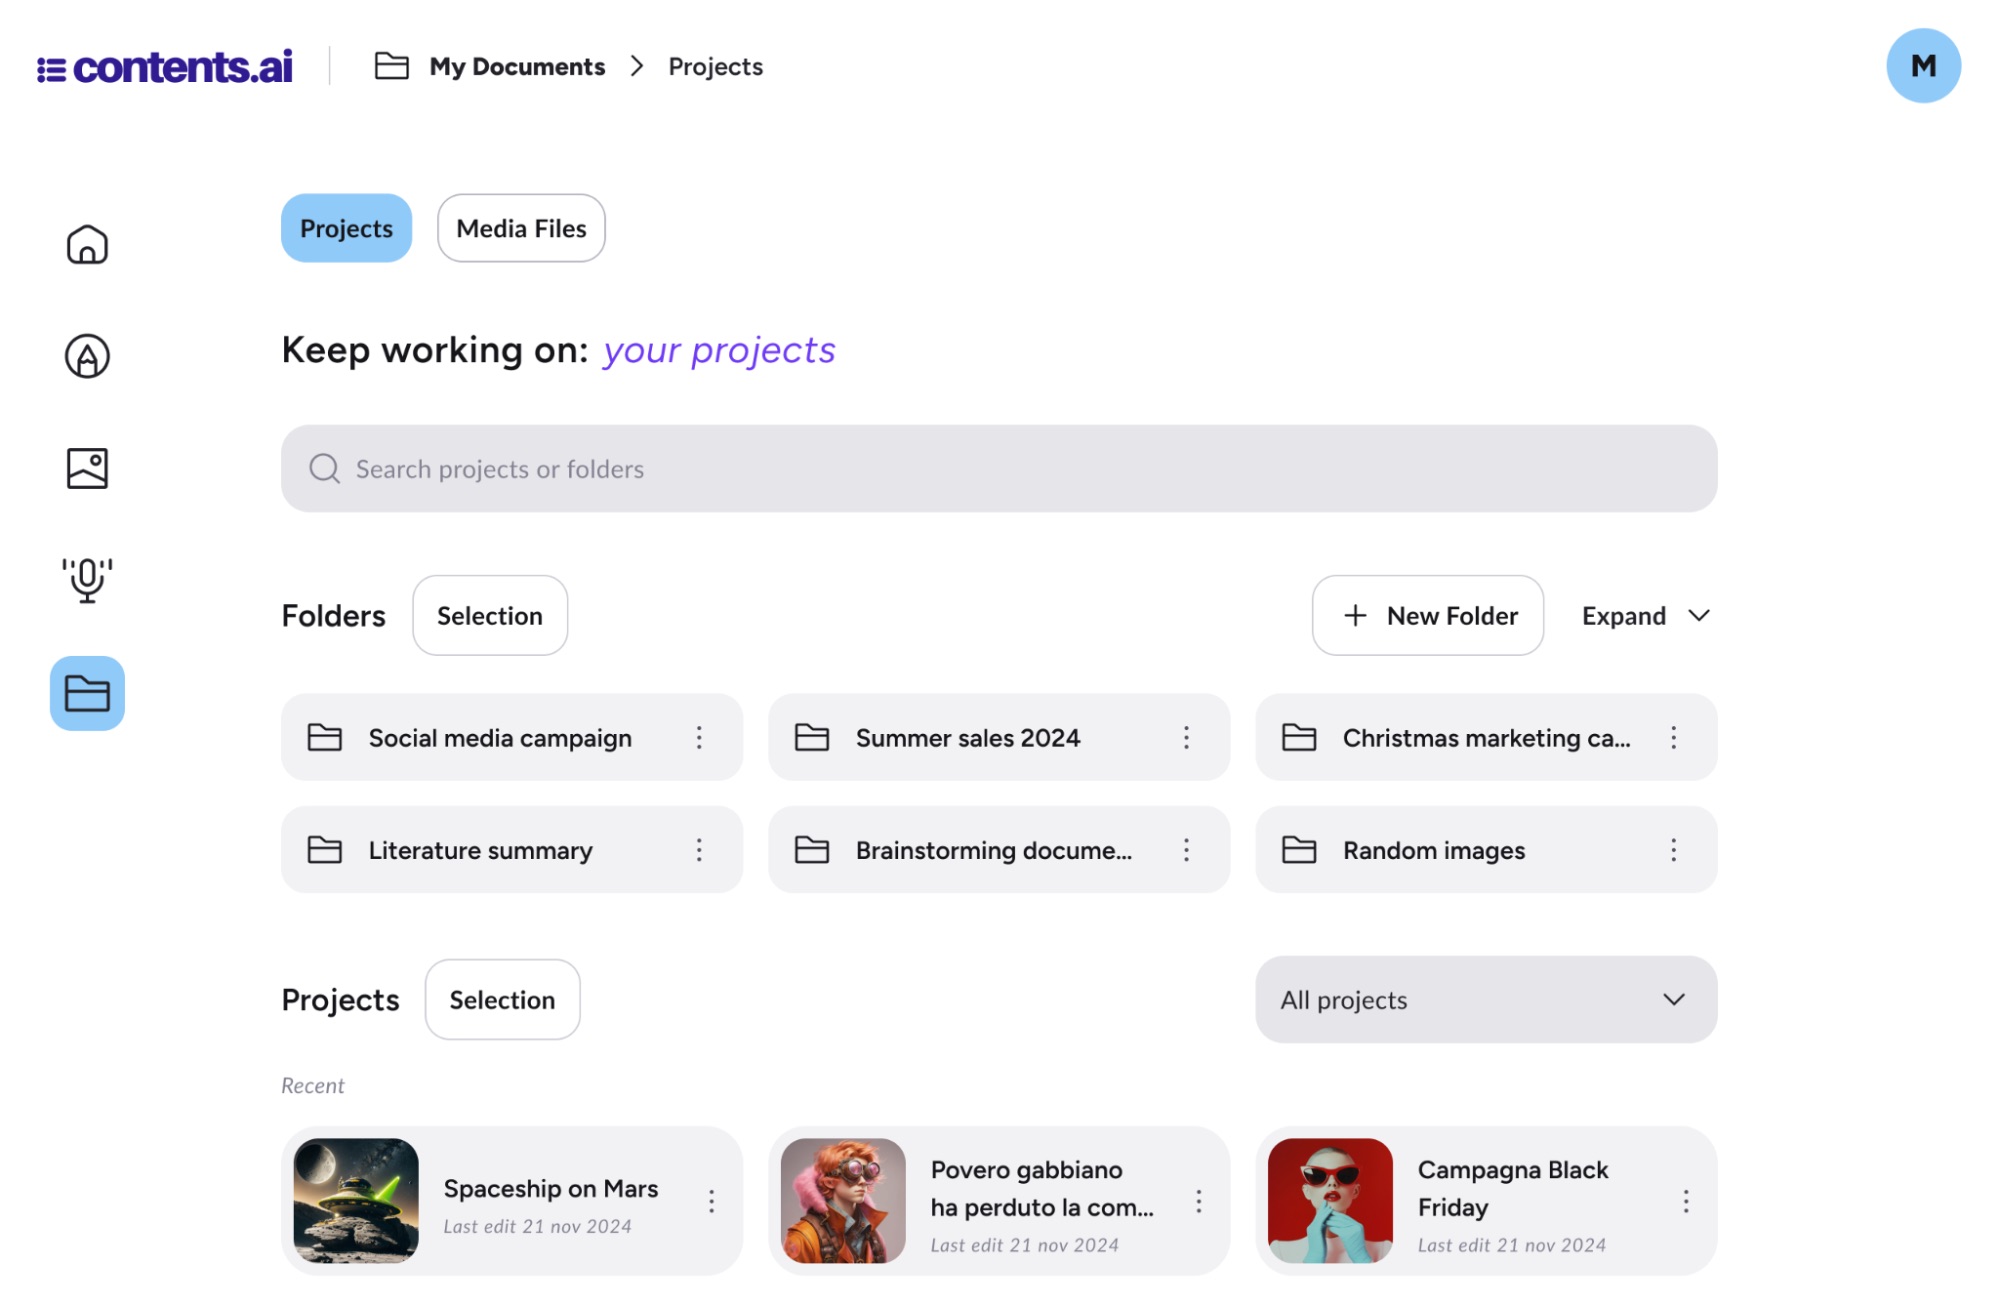
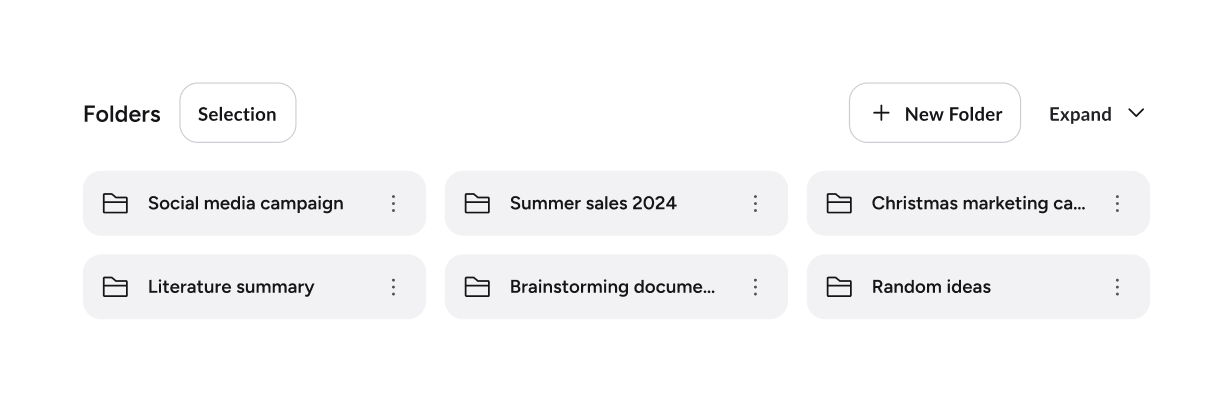
To keep the library tidy, only the first six folders are displayed by default, while the others are hidden. You can view them all by clicking the “Expand” button.
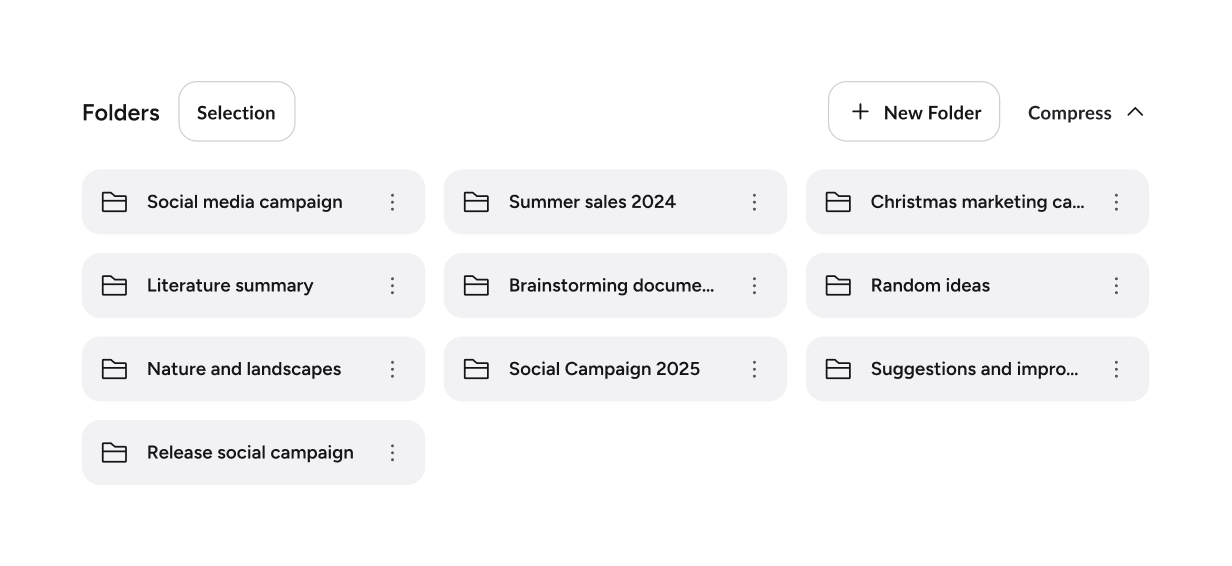
Creating a New Folder
Still within the “Library” page under the folders section, you can create new ones by clicking the button ![]() . Once clicked, a new folder item will appear, allowing you to rename it. All created folders are arranged in alphabetical order.
. Once clicked, a new folder item will appear, allowing you to rename it. All created folders are arranged in alphabetical order.
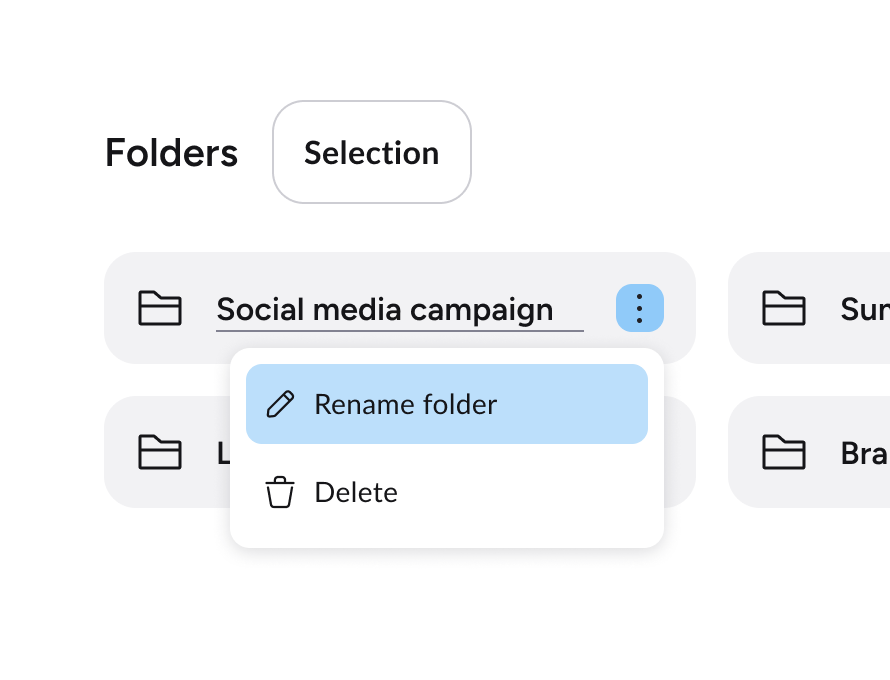
Renaming or Deleting a Folder
Individual folders can be renamed or deleted by the user at any time. These actions are available via the button ![]() next to each folder.
next to each folder.
Saving Projects into Folders
There are two ways to save a project into folders:
- from the Library
- from the project workspace
Saving a Project to a Folder from the Library
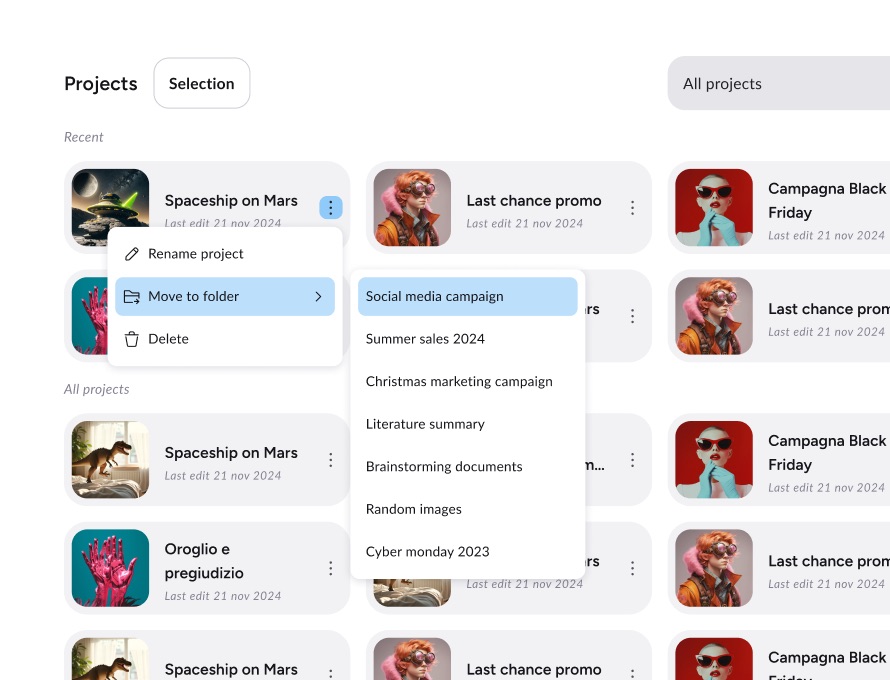
Click the button ![]() on the right side of each project. A menu will open allowing you to perform several actions on that project, including “Move to folder”. Select the desired folder title from the list, and the project will be moved inside it.
on the right side of each project. A menu will open allowing you to perform several actions on that project, including “Move to folder”. Select the desired folder title from the list, and the project will be moved inside it.
Saving a Project to a Folder from the Workspace
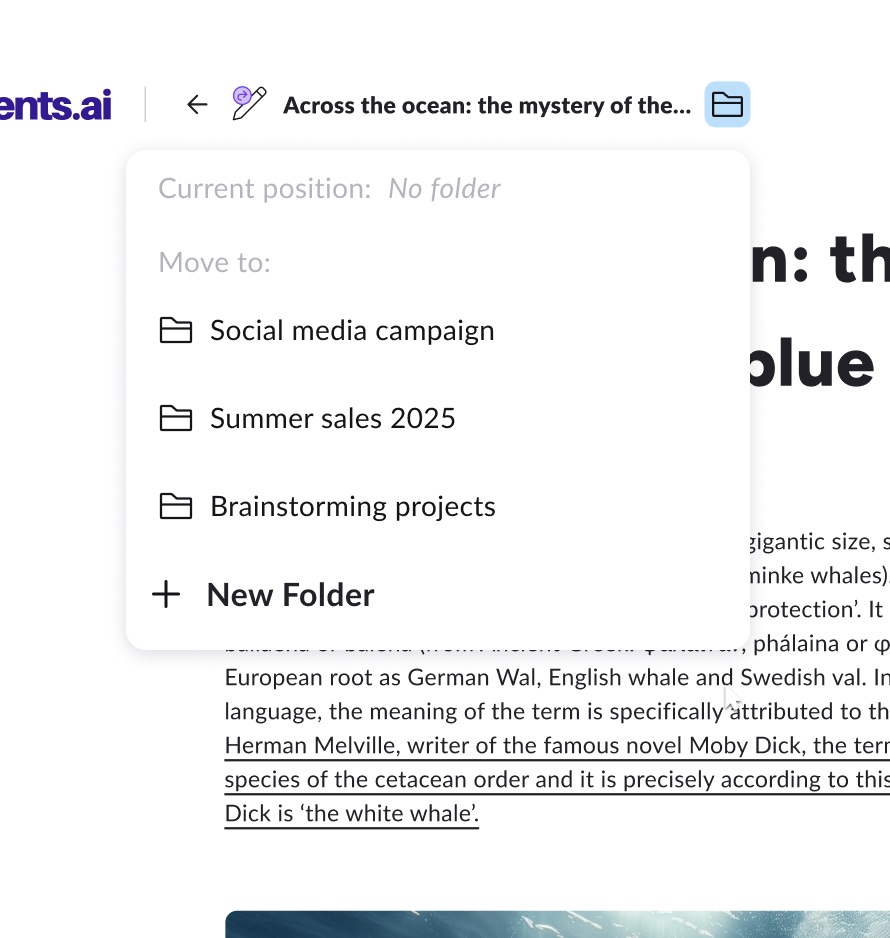
From within the project workspace, you can choose to place the project you’re working on into a folder at any time. To do this, click the button ![]() next to the project title.
next to the project title.

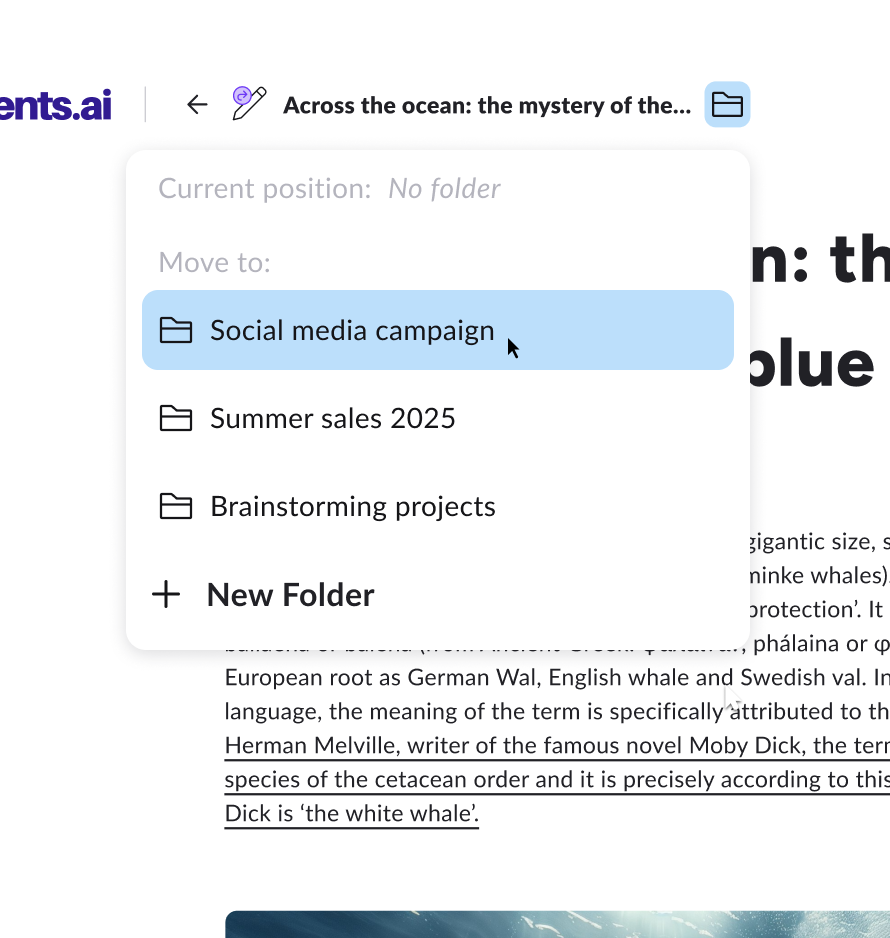
A menu will open showing all folders in the workspace. To move the project to a folder, simply select the desired folder.
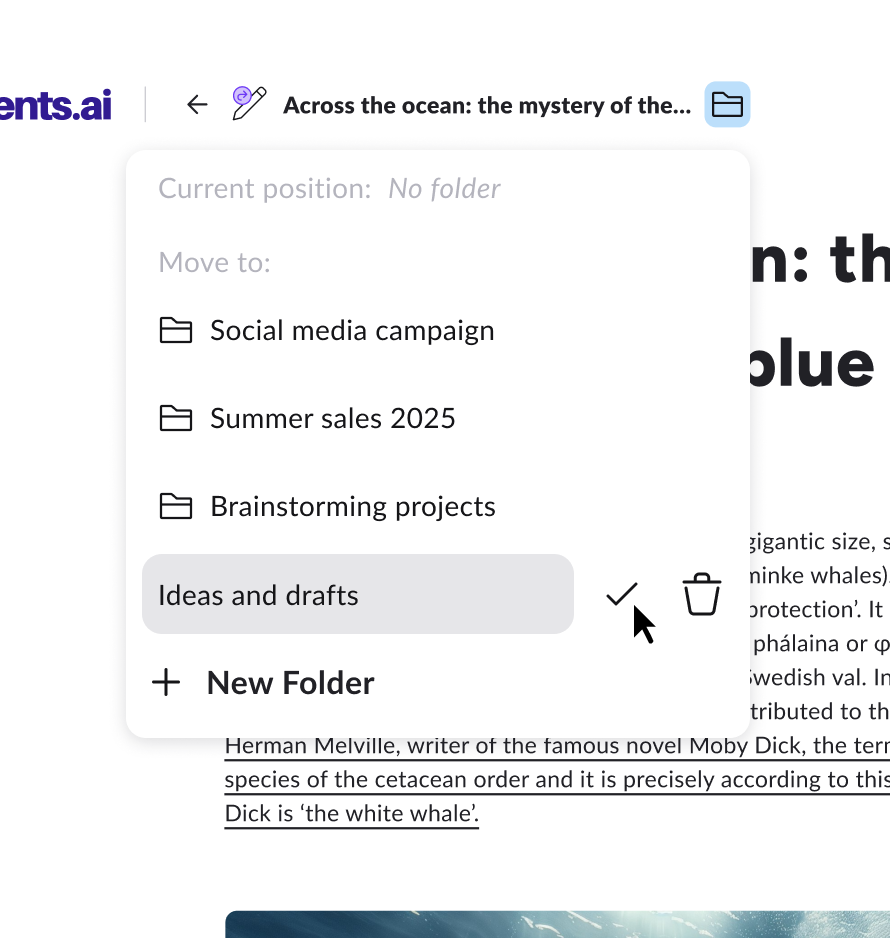
Using the folder menu in the workspace, you can also create new folders without leaving the project.

To learn more about what a project is and how the new Contents editor works, check out the guides Media and Projects in Contents and Introduction to the New Contents Editor